Showing posts with label Summer Layout. Show all posts

Thursday, March 12, 2015

You keep me anchored layout

You Keep Me Anchored 12x12 layout
 
 
For this 12x12 layout I used the Prima Seashore collection including the papers, ATC pads in sizes 3x4 and 4x6, flowers, leaves, chipboard pieces, tags, and paperclip. I've also used Prima Color Bloom sprays in Soft Teal, Antique Gold, and Precious Stone.
 
I distressed all the papers and inked all the edges with Vintage Photo Distress ink. I layered my papers, cheese cloth, and a piece of corrugated cardboard for my photo.


For the background I used modeling paste and Tim Holtz Burlap stencil and then spayed with Soft Teal and Precious Stone.  Once dried I stamped the background with stamps from the Seashore collection. 
 
 
The chipboard pieces are from Creative Embellishments.  I used the Chicken Wire Panel and the anchor from the Nautical 6 piece set. I sprayed them with Antique Gold.

 
I mixed in some small Wild Orchid Crafts open roses with the Prima flowers and layered them on and around the Chipboard embellishments. 
 
Thanks for looking~Melissa


Tuesday, August 26, 2014

May your joys be as deep as the ocean, your sorrows as light as its foam

It was so much fun creating this 12x12 layout!  I just love this photo of my son running along the beach without a care in the world.  To me it just screams innocents and pure joy! 
 
May your joys be as deep as the ocean, your sorrows as light as its foam
 
 
  I used a 12x12 corrugated paper for the background.  Next, I layered an 11x11 background paper.  I layered strips of inked and distressed paper in a variety of sizes.  Within the layers I used a Lori Whitlock scalloped border from the sil store.  I also used burlap ribbon as some of my layers.  My photo is sized to 5"x7". 


To create this layout I used two files from Scrappydew Creations.  I used the Searching for Sand Dollars 2014 and Welcome Fall files.  The fence is from the Welcome Fall file and the rest is from the Searching for Sand Dollars.


For the awesome seagulls I inked the edges in a gray ink and then folded the wings up before gluing them onto my page to add some dimension.

 
The grass and sand are glued flat to my layout and then the fence is popped up on foam.

 
The sand dollars were inked in gray  and the large one was popped up on foam.
 
Other products used: Paper Studio Beach House paper stack

Friday, August 22, 2014

The Village Scrapbooker Design Team Projects

I'm so excited to make my first posts for The Village Scrapbooker design team!  As I've mentioned before I've chosen to work with the Simple Stories Good Day Sunshine collection kit.  I've been assigned to create 2 double page layouts and a mini project.  I also had to make sure I focused on the transparent overlays and the coordinating Snap pockets.  With this being said here is what I came up with for this months design team project!  I hope you like...
 
Seaside Serenity


I created a layered effect by using strips of paper from the Good Day Sunshine kit and also using some of the pocket cards.  I fussy cut a couple of the view finders from the pattern paper to add to my layers.  I used the scalloped borderbanner and bracket background from the silhouette store.  I created the title with the fonts from my computer.  
 
 
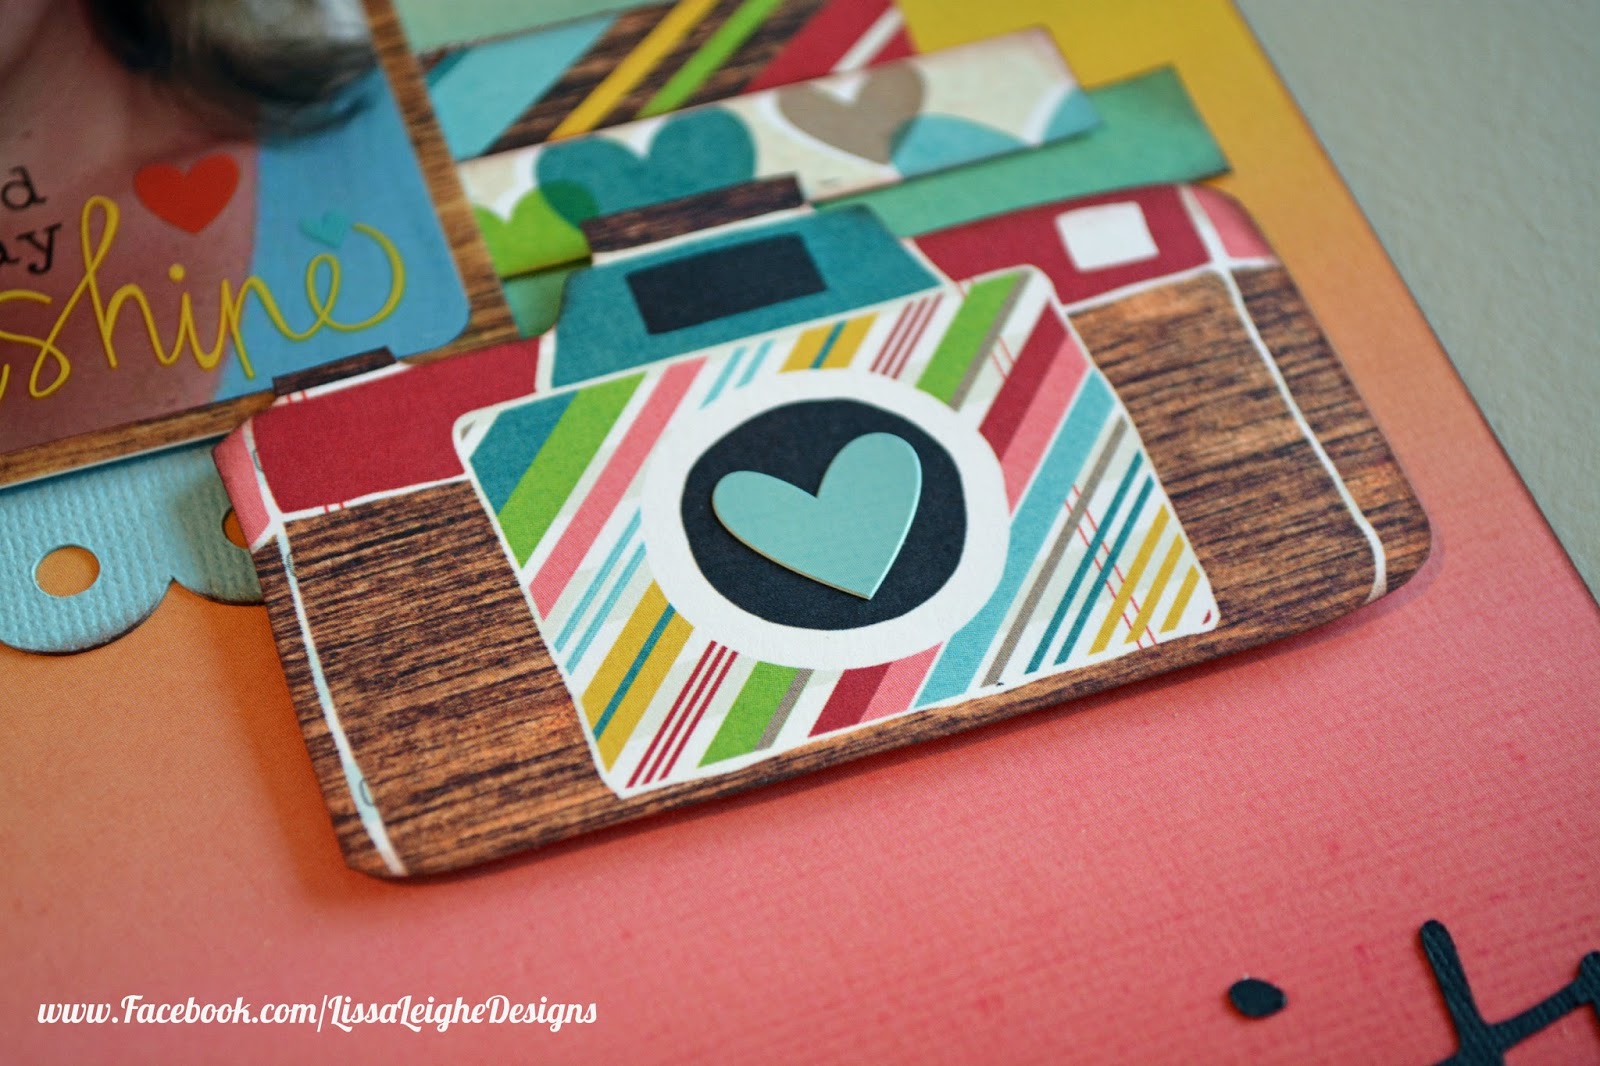
I fussy cut the camera out of one of the pocket cards, inked it, and popped it up on foam to create an embellishment. I also added a heart to the center of the camera from the sheet of stickers that came with the collection.
 
 
I threaded bakers twine in the eyelets of this pocket and added a card with my journaling. I added one of the faux washi tape stickers to the top of the card.
 
 
Space for 3 4x6" photos.
 
 
I layered a sunburst mat from the silhouette store with one of the transparent overlays and stapled at the top corners.

 
I fussy cut the polaroid from a card that came with the kit, added the alphabet and heart stickers, popped up on foam, and glued to a 4x6 card.  
 
 
Riding the Waves


Creating another layered effect I used borders and strips of paper from the Good Day Sunshine Collection kit.  I used an extra large photo measuring 9x7" which I printed with the title on it.

 
The polaroid was another file from the Silhouette store. I sized my photos down to fit in the polaroid and stapled transparent overlays over top of some of them.  I also placed stickers on the bottom of the other polaroids


Lots of layers using borders, cards, and stickers that came with the kit. 

 
Alphabet, hearts, and sun stickers decorated the pocket that holds my journaling strips.  Another transparent overlay that has been cut in half and used on a polaroid this side of the page.


I fussy cut the geo shape from one of the cards, inked, and popped it up on foam to create a cute embellishment.


Sand Bucket
 
 
3D Sand Bucket can be used as a gift bag or party favor for a birthday party
 
 
Jewel Brads were used to secure the handle.

 
Bakers Twine was used to secure the shovel on the bucket. I embossed the shovel and used some stickers from the collection.


Tuesday, August 19, 2014

A Deployment Wish...

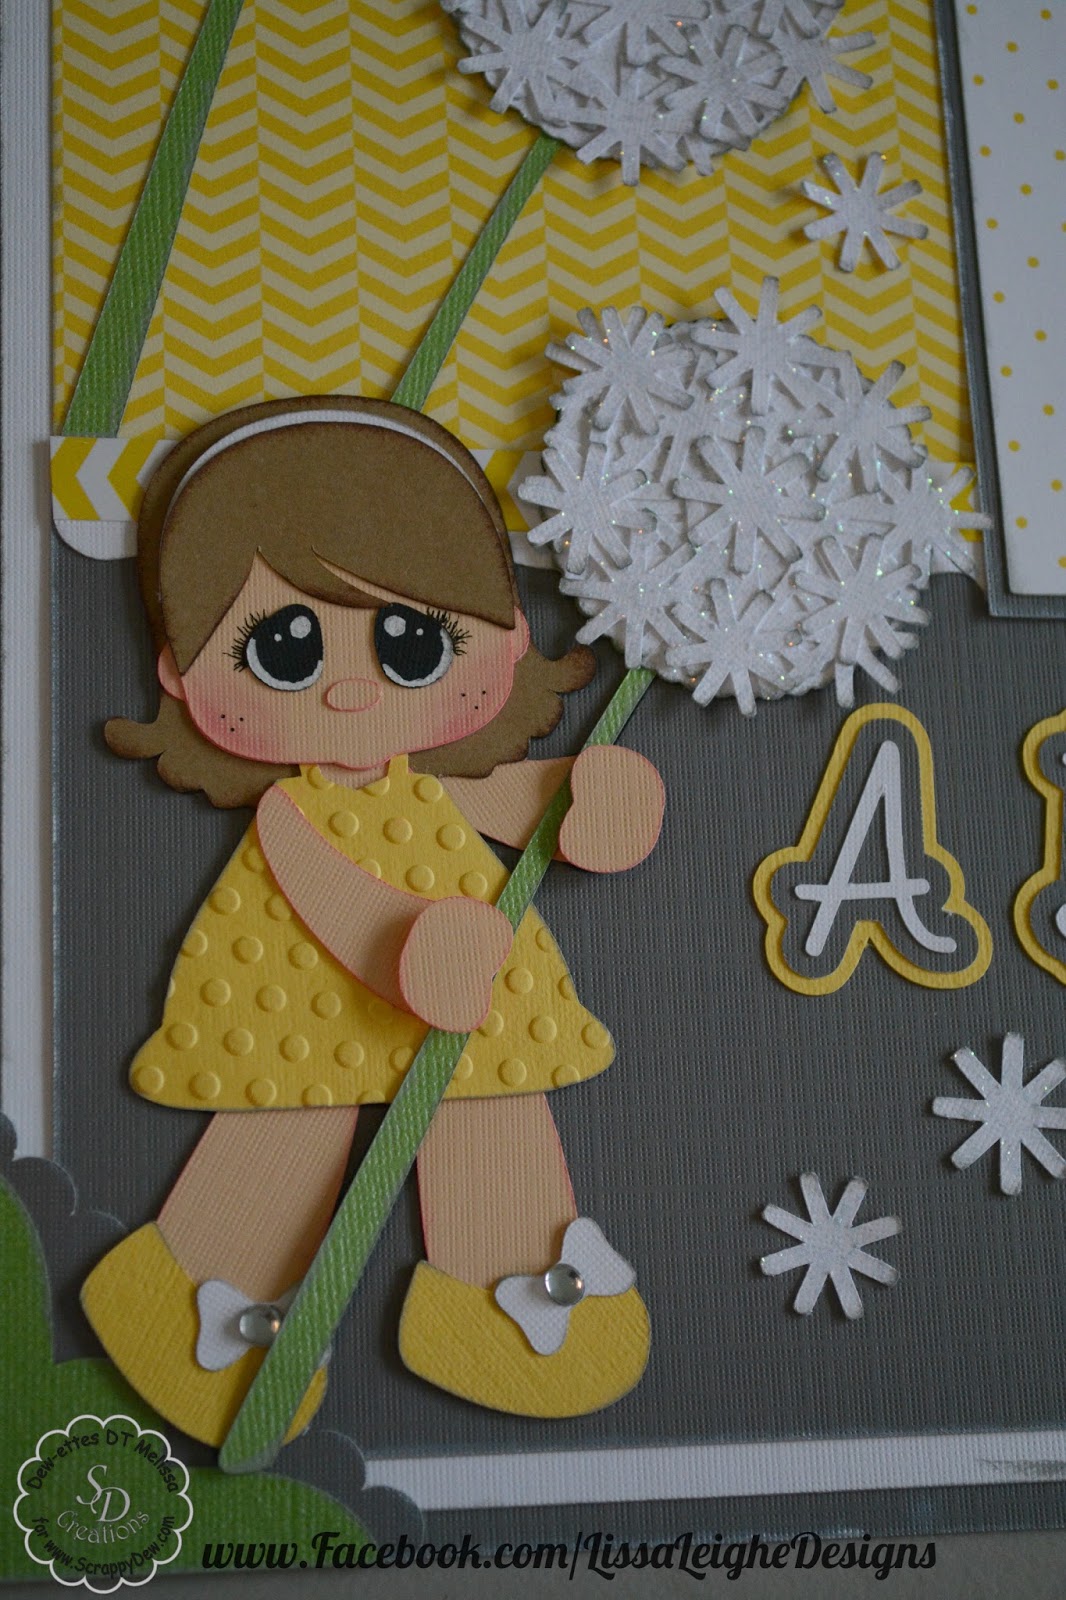
Today, I'm sharing a 12x12 layout I created for a photo that I've been holding onto for a few years now. I have a photo of my daughter who was 2 years old at the time making a wish on a dandelion during my husband's year long deployment.  What she had wished for broke my heart! She wished for her daddy to come home. :( Knowing we were only a couple weeks into the year long deployment I knew right then and there this deployment was going to have a bigger impact on her then what I had anticipated.  Anyways, when I saw the "Wishflowers 2014" from Scrappydew Creations I knew this was exactly how I wanted to document that moment.  
 
 
The little girl measures 6" and I duplicated the dandelions and added them to the top of the layout.  I inked everything in either gray or white ink. The dandelions were inked in gray ink and then painted with Diamond Stickles.  I love how they turned out! The photo corners and tag came from the silhouette store.

 
Other products used: Echo Park Mini Themes Yellow Submarine Collection Kit.  Iroc gems on the shoes.  We R memory Keepers Bakers Twine. 

Tuesday, July 22, 2014

Gone In 10 Minutes Layout

What an adorable way to document your child learning to ride their bike! I wanted a way to show the action of my son learning to ride his bike without training wheels and I think this layout did the trick!

 
To create this layout I used "My First Bike" from Scrappydew Creations and the film strip and chevron is from the silhouette store 4 Borders #24503. I used the negative space for the chevron.
 
The photo mats fit a 4x6 and 3x4 photos. The film strip fits 4 photos measuring 2.4 x 1.6.
The background papers measure 12x12, 11.5 x 11.5, and 11x11.
Journaling was printed on the 11x11 background.

 
The boy on his bike measures 4.9"

 
I created the title using the Airstrike font from Dafont.com. I used an extra wheel from the bike and sized it to fit the title.  I then created 2 offsets and added doodling to finish it off.
 
Additional products used: Echo Park We Are Family By Lori Whitlock and homemade enamel dots.

Tuesday, July 8, 2014

The World Is Your Playground Layout

Today I'm sharing a 2 page layout I made using a couple files from Scrappydew Creations.  I used the Tree House Fun and the Slip and Slide Kids 2013 files.


Tree House measures 10.3"
Sun is from the Slip and Slide Kids 2013 file and measures 2.7"
Photo mats are 3 1/2"x 4 1/2"

 
Title was created using font from dafont.com called Beautiful Every Time.
Little girl and tree measure 9.5"
Photo mats are 4 1/2"x 3 1/2" and 6 1/2"x 4 1/2"


Girl and tree were flipped horizontally in the silhouette software. The girls hair was replaced with the "Michelle" hairstyle from the Scrap Factory Doll Factory.


Other products used: Carta Bella Cool Summer and Best Of Basicgrey 12x12 paper stack.

Tuesday, June 24, 2014

Down by the Seaside Layout

Good morning! Today I'm sharing a 12x12 layout I made using the Lighthouse 2013 from Scrappydew Creations.


The lighthouse measures just about 6". I got the font from dafont.com and it's called Motion Picture.


The flowers are handmade and I colored them using Lindy's Stamp Gang Nantucket Pearls Starburst sprays.  I love, love, love this stuff!


The wooden compass embellishment is by Kaisercraft.
 

Tuesday, May 20, 2014

Blowing Bubbles Layout

Good morning! Today, I'm sharing a 12 x 12 layout I made using the Blowing Bubbles file from Scrappydew Creations.

 
This layout fits three 3x4 photos.  I used nesting stars from the silhouette store and placed them along the border of circles. 

This adorable little boy measures 4.75" tall.
 
Other products used: Hello Sunshine Collection Kit by Lawn Fawn, Bazil Cardstock.

Tuesday, May 6, 2014