Showing posts with label Gift box. Show all posts

Friday, October 17, 2014

October KrEative Design Team Project!

SPOOKTACULAR HALLOWEEN!!
 
So, here are my projects for The Village Scrapbooker KrEative design team!  I'm so excited about how these projects turned out! I chose the Spooky collection by Carta Bella to create all three of these projects.  I love how the orange pops off the black and white papers. 
 
Haunted Mansion
For my home décor project I decided to make this awesome haunted mansion. I used my silhouette cameo and the Maple Manor file from SVGCUTS to create it.  I used multiple sheets of black and gray Bazzill cardstock to create the mansion.  I like to use the Bazzill because it's really thick and sturdy and helps with 3D projects. I also used Scotch Quick Dry as my adhesive.
 
 
After I cut all my pieces out I used black and white inks to ink all my edges to add to the spookiness of the mansion.  For the windows I used vellum so that my battery operated tea light candles can glow through. 


The back of the mansion opens so you can use it either as a gift box or you can just add the tea light candles to make a spooktacular Halloween decoration. 
 
JACK O'LANTERN
I decided to make another home décor project and really wanted to make this adorable jack 'olantern from SVGCUTS Haunted Forest kit. I knew these pattern papers from the Spooky collection would work awesome with it!  To create this I used black, white, and orange Bazzill cardstock.  I also added some bling to the hat and a spider brad in the center of the flower.  Again, I like to ink all my edges with black and white ink.  Like the mansion you can lift the hat up and add a battery operated tea light candle to create a fantastic decoration. 
 
 
Bewitching Halloween
For one of my projects I had to create a card and I instantly knew I wanted to make a shaped card!  I love this witch boot shaped card that I got from the Silhouette store! So with my silhouette cameo I cut the pieces out from the Spooky collection kit and inked all my edges.  I added some grosgrain ribbon as a shoelace and black tulle at the top of the boot.  I used the Happy Halloween sticker that came with the Spooky collection and created a tag and tied it to the top of the card.  To finish off the card I sporadically added Stickles to the diamonds on the pattern paper. 
 
 
So, I hope everyone enjoyed my projects for this month! I really enjoyed working with the Carta Bella Spooky collection kit because the papers are really thick and sturdy.  The orange really pops with the black and white patterns and makes for some awesome Halloween projects!  Stop by The Village Scrapbooker to see these projects in person! 
DT~Melissa
 

Friday, August 22, 2014

The Village Scrapbooker Design Team Projects

I'm so excited to make my first posts for The Village Scrapbooker design team!  As I've mentioned before I've chosen to work with the Simple Stories Good Day Sunshine collection kit.  I've been assigned to create 2 double page layouts and a mini project.  I also had to make sure I focused on the transparent overlays and the coordinating Snap pockets.  With this being said here is what I came up with for this months design team project!  I hope you like...
 
Seaside Serenity


I created a layered effect by using strips of paper from the Good Day Sunshine kit and also using some of the pocket cards.  I fussy cut a couple of the view finders from the pattern paper to add to my layers.  I used the scalloped borderbanner and bracket background from the silhouette store.  I created the title with the fonts from my computer.  
 
 
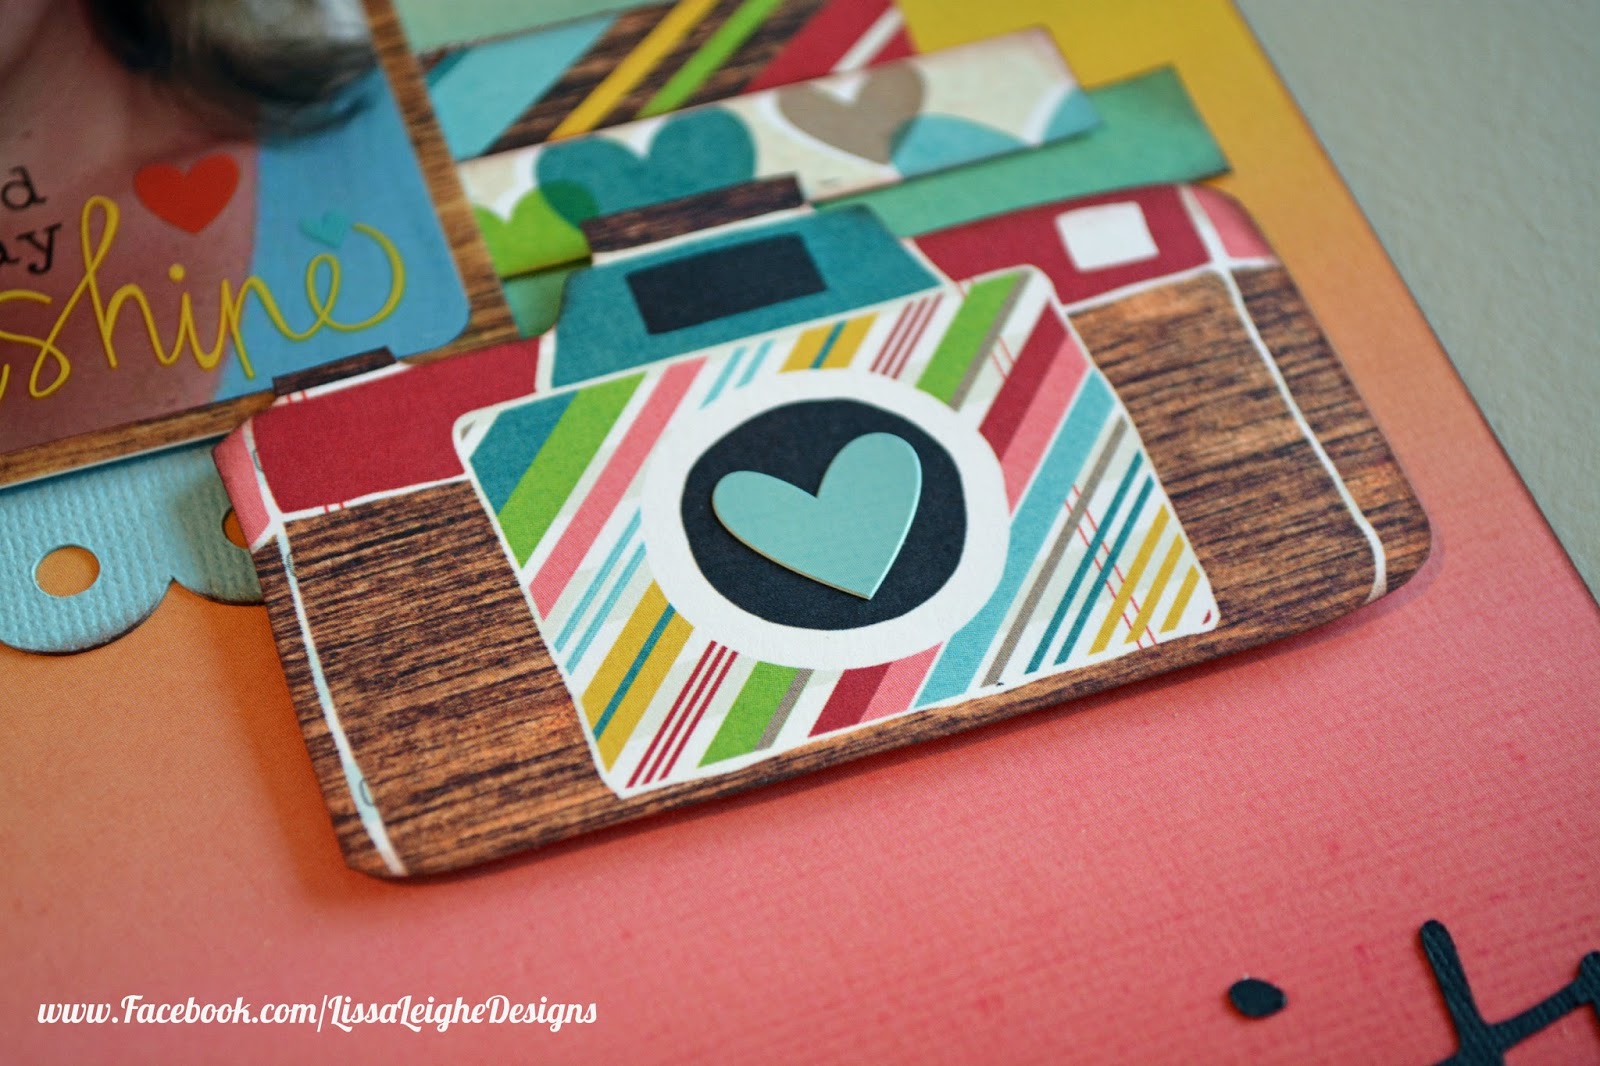
I fussy cut the camera out of one of the pocket cards, inked it, and popped it up on foam to create an embellishment. I also added a heart to the center of the camera from the sheet of stickers that came with the collection.
 
 
I threaded bakers twine in the eyelets of this pocket and added a card with my journaling. I added one of the faux washi tape stickers to the top of the card.
 
 
Space for 3 4x6" photos.
 
 
I layered a sunburst mat from the silhouette store with one of the transparent overlays and stapled at the top corners.

 
I fussy cut the polaroid from a card that came with the kit, added the alphabet and heart stickers, popped up on foam, and glued to a 4x6 card.  
 
 
Riding the Waves


Creating another layered effect I used borders and strips of paper from the Good Day Sunshine Collection kit.  I used an extra large photo measuring 9x7" which I printed with the title on it.

 
The polaroid was another file from the Silhouette store. I sized my photos down to fit in the polaroid and stapled transparent overlays over top of some of them.  I also placed stickers on the bottom of the other polaroids


Lots of layers using borders, cards, and stickers that came with the kit. 

 
Alphabet, hearts, and sun stickers decorated the pocket that holds my journaling strips.  Another transparent overlay that has been cut in half and used on a polaroid this side of the page.


I fussy cut the geo shape from one of the cards, inked, and popped it up on foam to create a cute embellishment.


Sand Bucket
 
 
3D Sand Bucket can be used as a gift bag or party favor for a birthday party
 
 
Jewel Brads were used to secure the handle.

 
Bakers Twine was used to secure the shovel on the bucket. I embossed the shovel and used some stickers from the collection.


Tuesday, August 5, 2014

Teacher Gift

Today, I'm sharing a gift I created for my son to give to his teacher on the first day of preschool.  I wanted to go with an old fashion style and the paper piecings and paper were perfect!
 
 
The sticky note holder file was purchased from the silhouette store.  I decided that I really wanted to dress it up and the scrappydew files were exactly what I wanted!
 
 
To create this sticky note holder I used a couple files from Scrappydew Creations.  For the school building I used the Back 2 School 2012 set which can also be found in their vault. For the apple I used the Back to School 2013 set.  Scrappydew just came out with a new school file which has both a school building and an apple. So, which ever files you have will work perfectly! 

 
The school measures 3" and the apple measures a little more then 1".

Other products used: Back to Old School digital paper from etsy store and irock jewels.

Monday, August 4, 2014

Baptism Gift

Isn't it amazing what you can do with paper and glue? When it came time to get a gift together for a baptism I knew I wanted to create something beautiful and this was perfect! This church acts as both a beautiful light up display and a gift box! 
 
 
 The church is from the file Silent Night from SVGcuts.com and measures a massive 18 1/2" tall.

 
There is a large enough opening in the back to add any special gift/card.

 
I added a jingle bell to the steeple using twine.  Included in the extra folder of this file is a cross.  I decided to add it to the front of the church instead of on the steeple.   

 
Added tea lights makes this so beautiful.
 
 
At the last minute I wanted to add a coordinating card so I used my scraps to make this card. This 3D stand up card file is from the silhouette store.
 
 
Other products used: The paper is from Authentique Collection Favorite: Desirable, Collectable, Indelible, Foundation Two.  Coordinating cardstock, Vellum, and Scotch Quick Dry glue.
  

Sunday, July 27, 2014

Down by the Sea

I finally got around to making myself something for my craft room!  Anyone who knows me knows that I love lighthouses and being by the water. When I saw the Seaside SVG kit from SVGCUTS I just knew I had to put it together! To make it even more exciting there are areas within the lighthouse to place battery operated tea light candles!!  You can even use this as a gift box if you want!  Crafting with this in my room is going to be so relaxing!  On to the details...
 
 
The lighthouse stands a little over 15 inches tall. You can compare how tall it is to my lamp in the background.  To make this I used 4 pieces of white cardstock, one sheet of coordinating red cardstock, and paper from the By the Sea Collection by Graphic 45. Specifically, I used Splash and both sides of Set Sail. I wanted the lighthouse to look aged so I inked the edges in chestnut ink.  To finish this off I added 2 tea light candles (battery operated) in the bottom and the top of the lighthouse.