Showing posts with label Silhouette Cameo. Show all posts

Saturday, February 14, 2015

Love You

So, I've decided to enter this card in the Creative Embellishments February Challenge.  The challenge was to pick something from the photo that inspires you and to have an ombre effect somewhere on your project. My eye was drawn to the flowers, the shades of pink, and the ribbons throughout.

 feb

This is my favorite card by far! I made this card for my husband and I am in loooove with it!  I used my flowers from Wild Orchid Crafts to decorate it and I embossed a few chippies from Creative Embellishments.
 
 
The chippies that I used are from Creative Embellishments. The swirly chippy is Flourish 24 and it reminded me of the ribbons throughout the photo.  I love that it follows the height of the card.  The "love you" chippies are from the I love You Set which is perfect for this challenge.  I embossed all the chippies with my Lindy's Stamp Gang embossing powder.
 
 
Again, my inspiration from the photo were all the flowers.  A cluster of Wild Orchid Crafts flowers with a heart locket sit on a doily that has been sprayed with Prima color Bloom tea stained spray. Love it!!  This is where I tried to add the umbre effect by adding white gesso to the tips of some of the darker flowers and darker ink to the tips of the lighter colored flowers.


I layered my papers lighter to darker to create a subtle umbre effect and then rolled back the corners to reveal a stamped corner.


 Beautiful...


Love

My daughter is of course the princess of the family and she loves beautiful things. I knew that she would appreciate something a little more detailed and girly. I used my mulberry flowers from Wild Orchid Crafts to decorate this swing card. I also embossed the "love" chippy from Michaels. I love how you can really change this style of card up.
 
 
I love the cluster of mulberry flowers from Wild Orchid Crafts in the corner.


I embossed the chippy with my Lindy's Stamp Gang embossing powder.


So Stinkin' Cute

Here is another Valentine's Day swing card that I made my youngest son. He's always telling everyone they're "So Stinkin' Cute!"  The print and cut feature makes card making so easy!


Toad-ally Loveable

Happy Valentine's Day!! I've been busy in my craft room making cards for my kiddos and husband the last few days. Here is a swing card I made my son. I think it's Toad-ally awesome! wink emoticon


Friday, October 17, 2014

October KrEative Design Team Project!

SPOOKTACULAR HALLOWEEN!!
 
So, here are my projects for The Village Scrapbooker KrEative design team!  I'm so excited about how these projects turned out! I chose the Spooky collection by Carta Bella to create all three of these projects.  I love how the orange pops off the black and white papers. 
 
Haunted Mansion
For my home décor project I decided to make this awesome haunted mansion. I used my silhouette cameo and the Maple Manor file from SVGCUTS to create it.  I used multiple sheets of black and gray Bazzill cardstock to create the mansion.  I like to use the Bazzill because it's really thick and sturdy and helps with 3D projects. I also used Scotch Quick Dry as my adhesive.
 
 
After I cut all my pieces out I used black and white inks to ink all my edges to add to the spookiness of the mansion.  For the windows I used vellum so that my battery operated tea light candles can glow through. 


The back of the mansion opens so you can use it either as a gift box or you can just add the tea light candles to make a spooktacular Halloween decoration. 
 
JACK O'LANTERN
I decided to make another home décor project and really wanted to make this adorable jack 'olantern from SVGCUTS Haunted Forest kit. I knew these pattern papers from the Spooky collection would work awesome with it!  To create this I used black, white, and orange Bazzill cardstock.  I also added some bling to the hat and a spider brad in the center of the flower.  Again, I like to ink all my edges with black and white ink.  Like the mansion you can lift the hat up and add a battery operated tea light candle to create a fantastic decoration. 
 
 
Bewitching Halloween
For one of my projects I had to create a card and I instantly knew I wanted to make a shaped card!  I love this witch boot shaped card that I got from the Silhouette store! So with my silhouette cameo I cut the pieces out from the Spooky collection kit and inked all my edges.  I added some grosgrain ribbon as a shoelace and black tulle at the top of the boot.  I used the Happy Halloween sticker that came with the Spooky collection and created a tag and tied it to the top of the card.  To finish off the card I sporadically added Stickles to the diamonds on the pattern paper. 
 
 
So, I hope everyone enjoyed my projects for this month! I really enjoyed working with the Carta Bella Spooky collection kit because the papers are really thick and sturdy.  The orange really pops with the black and white patterns and makes for some awesome Halloween projects!  Stop by The Village Scrapbooker to see these projects in person! 
DT~Melissa
 

Tuesday, September 9, 2014

School Rocks~Back to School Layout

It's that time of year again and all my little ones are in school! It's a little bitter sweet having all three kids in school! I suspect I'll enjoy a little peace and quite but then again I'm really going to miss having them all around!  I guess it'll leave me with more time to scrapbook!  I think it's only fitting that I start with all the back to school pictures! 
 
 
I've created this 12x12 layout using paper from the Simple Stories Smarty Pants collection.

 
I used the "Back to School Pencils 2014" from Scrappydew Creations.  This boy and pencil car is 3 1/2" tall.  I ran the pencil part through my cuttlebug and inked all the edges in chestnut brown ink.  I used my embossing folder from Paper Studio that is a notebook paper design.  I should also mention that this files comes with a little girl and a title.  I decided not to use the title because I felt like my layout was getting a little busy. 

Tuesday, August 26, 2014

May your joys be as deep as the ocean, your sorrows as light as its foam

It was so much fun creating this 12x12 layout!  I just love this photo of my son running along the beach without a care in the world.  To me it just screams innocents and pure joy! 
 
May your joys be as deep as the ocean, your sorrows as light as its foam
 
 
  I used a 12x12 corrugated paper for the background.  Next, I layered an 11x11 background paper.  I layered strips of inked and distressed paper in a variety of sizes.  Within the layers I used a Lori Whitlock scalloped border from the sil store.  I also used burlap ribbon as some of my layers.  My photo is sized to 5"x7". 


To create this layout I used two files from Scrappydew Creations.  I used the Searching for Sand Dollars 2014 and Welcome Fall files.  The fence is from the Welcome Fall file and the rest is from the Searching for Sand Dollars.


For the awesome seagulls I inked the edges in a gray ink and then folded the wings up before gluing them onto my page to add some dimension.

 
The grass and sand are glued flat to my layout and then the fence is popped up on foam.

 
The sand dollars were inked in gray  and the large one was popped up on foam.
 
Other products used: Paper Studio Beach House paper stack

Friday, August 22, 2014

The Village Scrapbooker Design Team Projects

I'm so excited to make my first posts for The Village Scrapbooker design team!  As I've mentioned before I've chosen to work with the Simple Stories Good Day Sunshine collection kit.  I've been assigned to create 2 double page layouts and a mini project.  I also had to make sure I focused on the transparent overlays and the coordinating Snap pockets.  With this being said here is what I came up with for this months design team project!  I hope you like...
 
Seaside Serenity


I created a layered effect by using strips of paper from the Good Day Sunshine kit and also using some of the pocket cards.  I fussy cut a couple of the view finders from the pattern paper to add to my layers.  I used the scalloped border, banner and bracket background from the silhouette store.  I created the title with the fonts from my computer.  
 
 
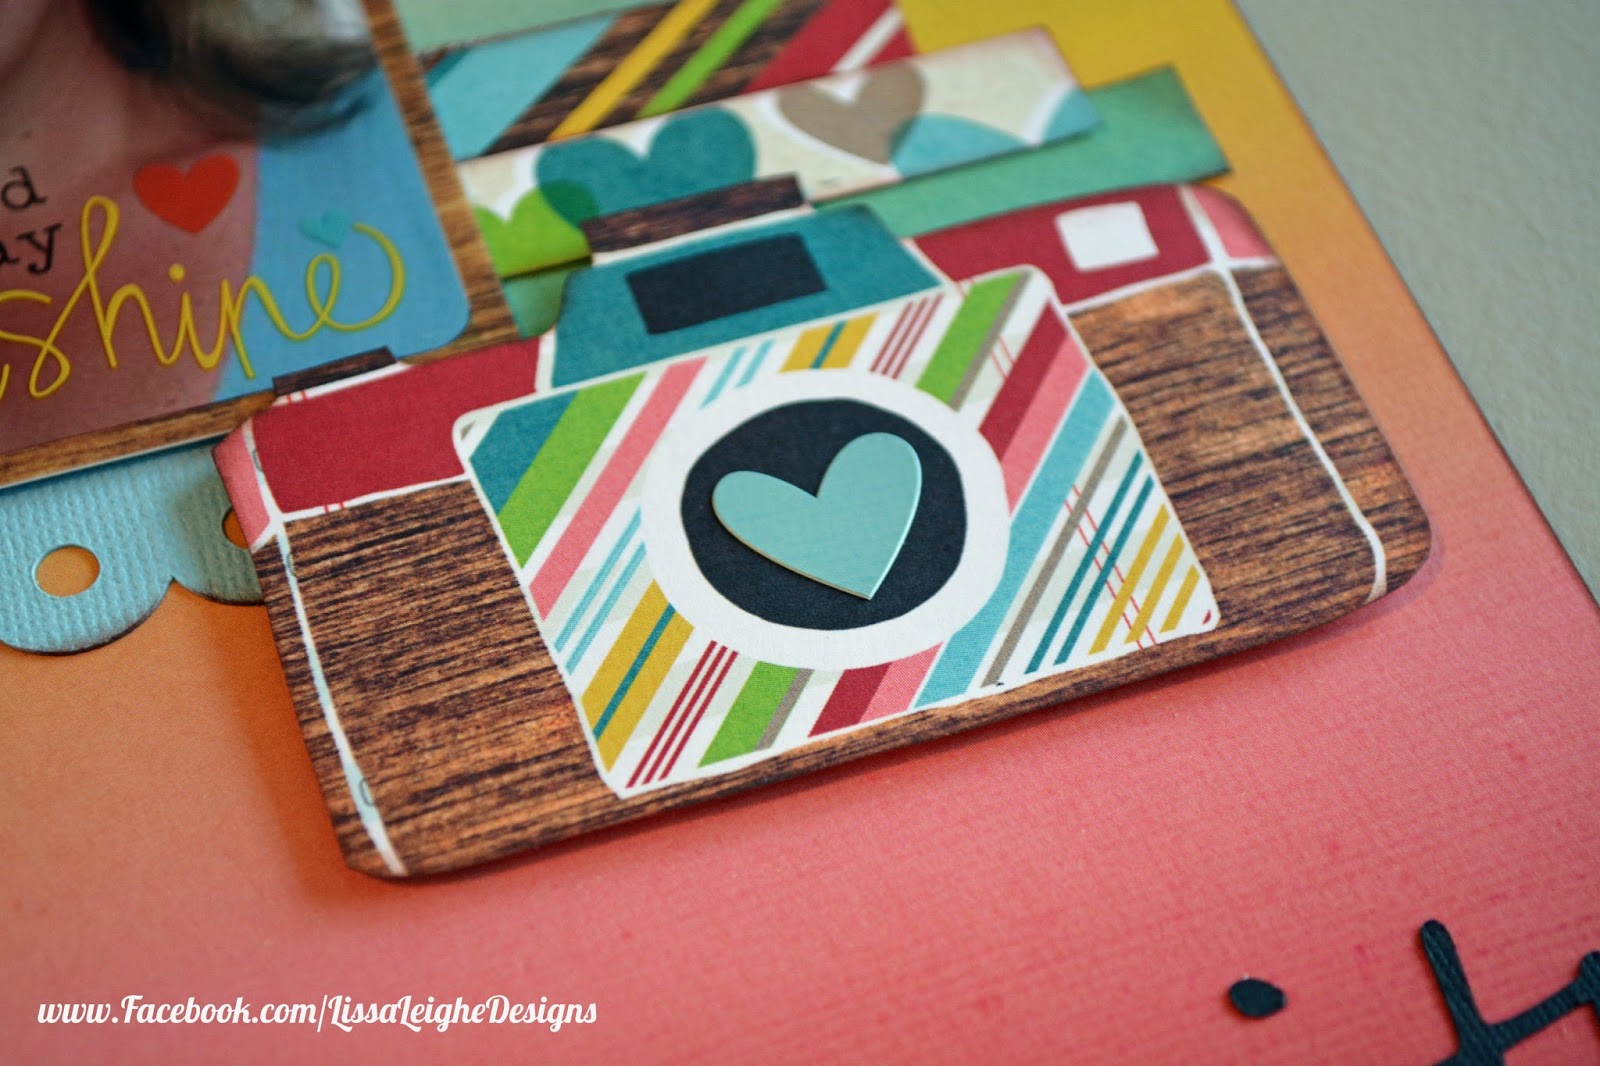
I fussy cut the camera out of one of the pocket cards, inked it, and popped it up on foam to create an embellishment. I also added a heart to the center of the camera from the sheet of stickers that came with the collection.
 
 
I threaded bakers twine in the eyelets of this pocket and added a card with my journaling. I added one of the faux washi tape stickers to the top of the card.
 
 
Space for 3 4x6" photos.
 
 
I layered a sunburst mat from the silhouette store with one of the transparent overlays and stapled at the top corners.

 
I fussy cut the polaroid from a card that came with the kit, added the alphabet and heart stickers, popped up on foam, and glued to a 4x6 card.  
 
 
Riding the Waves


Creating another layered effect I used borders and strips of paper from the Good Day Sunshine Collection kit.  I used an extra large photo measuring 9x7" which I printed with the title on it.

 
The polaroid was another file from the Silhouette store. I sized my photos down to fit in the polaroid and stapled transparent overlays over top of some of them.  I also placed stickers on the bottom of the other polaroids


Lots of layers using borders, cards, and stickers that came with the kit. 

 
Alphabet, hearts, and sun stickers decorated the pocket that holds my journaling strips.  Another transparent overlay that has been cut in half and used on a polaroid this side of the page.


I fussy cut the geo shape from one of the cards, inked, and popped it up on foam to create a cute embellishment.


Sand Bucket
 
 
3D Sand Bucket can be used as a gift bag or party favor for a birthday party
 
 
Jewel Brads were used to secure the handle.

 
Bakers Twine was used to secure the shovel on the bucket. I embossed the shovel and used some stickers from the collection.


Tuesday, August 19, 2014

A Deployment Wish...

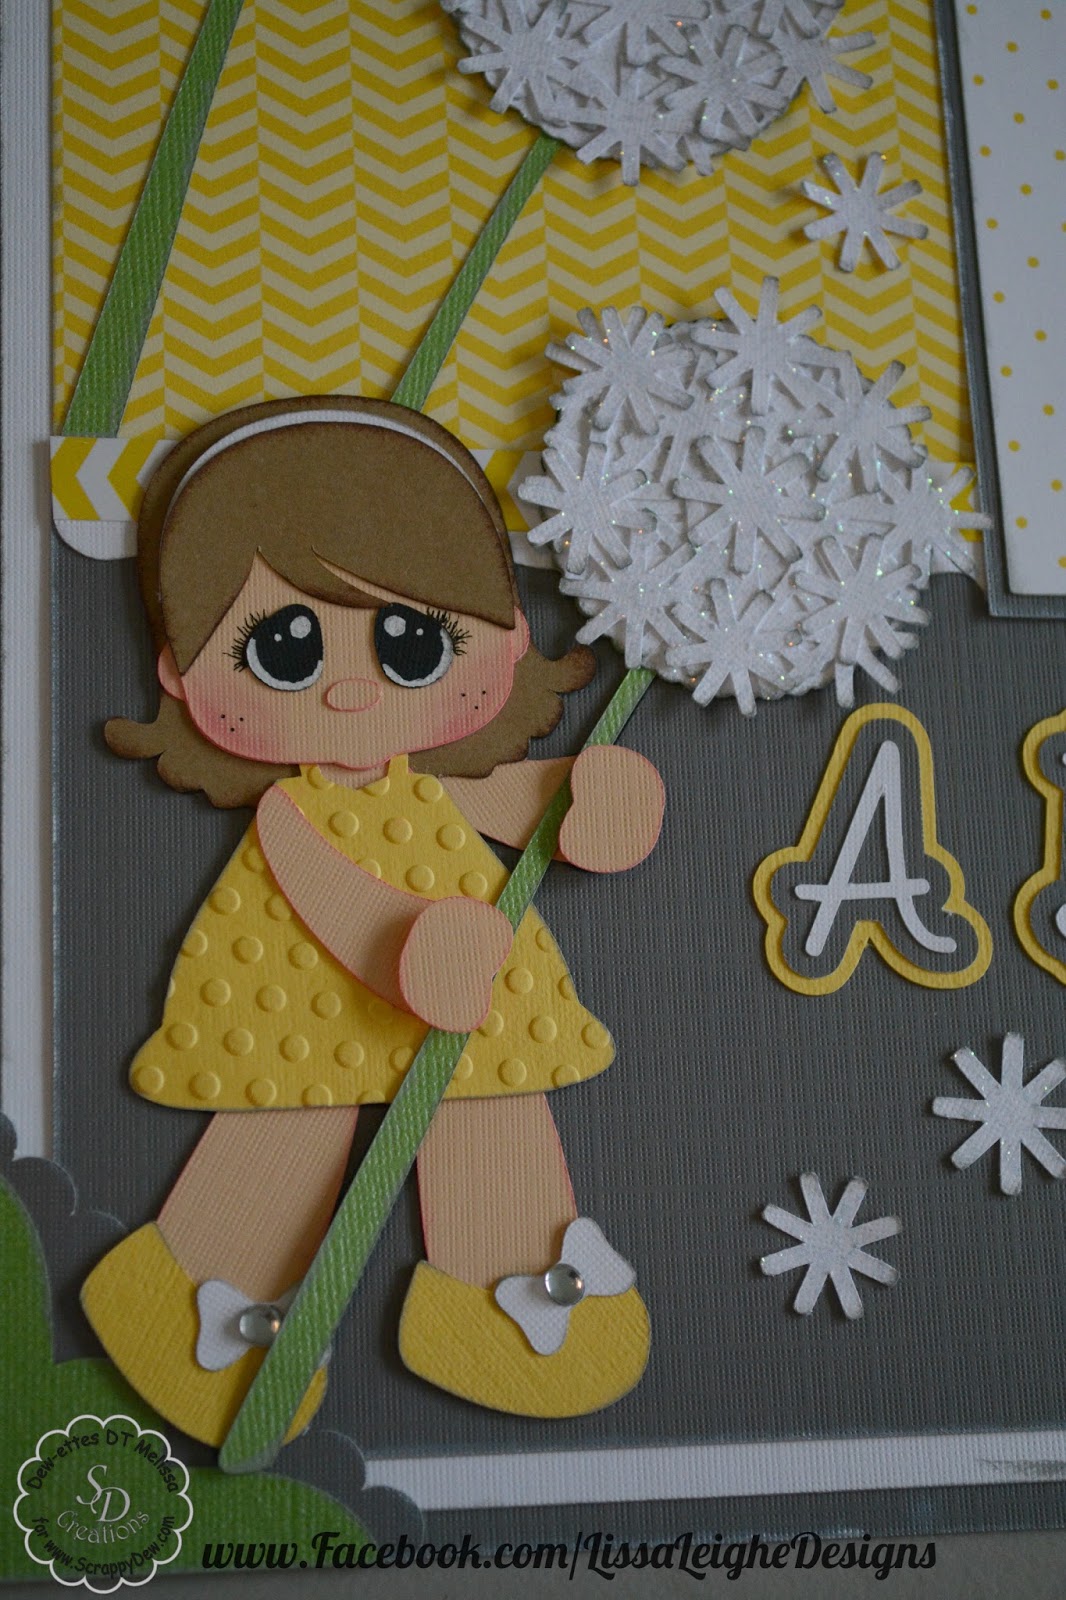
Today, I'm sharing a 12x12 layout I created for a photo that I've been holding onto for a few years now. I have a photo of my daughter who was 2 years old at the time making a wish on a dandelion during my husband's year long deployment.  What she had wished for broke my heart! She wished for her daddy to come home. :( Knowing we were only a couple weeks into the year long deployment I knew right then and there this deployment was going to have a bigger impact on her then what I had anticipated.  Anyways, when I saw the "Wishflowers 2014" from Scrappydew Creations I knew this was exactly how I wanted to document that moment.  
 
 
The little girl measures 6" and I duplicated the dandelions and added them to the top of the layout.  I inked everything in either gray or white ink. The dandelions were inked in gray ink and then painted with Diamond Stickles.  I love how they turned out! The photo corners and tag came from the silhouette store.

 
Other products used: Echo Park Mini Themes Yellow Submarine Collection Kit.  Iroc gems on the shoes.  We R memory Keepers Bakers Twine. 

Tuesday, August 5, 2014

Teacher Gift

Today, I'm sharing a gift I created for my son to give to his teacher on the first day of preschool.  I wanted to go with an old fashion style and the paper piecings and paper were perfect!
 
 
The sticky note holder file was purchased from the silhouette store.  I decided that I really wanted to dress it up and the scrappydew files were exactly what I wanted!
 
 
To create this sticky note holder I used a couple files from Scrappydew Creations.  For the school building I used the Back 2 School 2012 set which can also be found in their vault. For the apple I used the Back to School 2013 set.  Scrappydew just came out with a new school file which has both a school building and an apple. So, which ever files you have will work perfectly! 

 
The school measures 3" and the apple measures a little more then 1".

Other products used: Back to Old School digital paper from etsy store and irock jewels.

Monday, August 4, 2014

Baptism Gift

Isn't it amazing what you can do with paper and glue? When it came time to get a gift together for a baptism I knew I wanted to create something beautiful and this was perfect! This church acts as both a beautiful light up display and a gift box! 
 
 
 The church is from the file Silent Night from SVGcuts.com and measures a massive 18 1/2" tall.

 
There is a large enough opening in the back to add any special gift/card.

 
I added a jingle bell to the steeple using twine.  Included in the extra folder of this file is a cross.  I decided to add it to the front of the church instead of on the steeple.   

 
Added tea lights makes this so beautiful.
 
 
At the last minute I wanted to add a coordinating card so I used my scraps to make this card. This 3D stand up card file is from the silhouette store.
 
 
Other products used: The paper is from Authentique Collection Favorite: Desirable, Collectable, Indelible, Foundation Two.  Coordinating cardstock, Vellum, and Scotch Quick Dry glue.